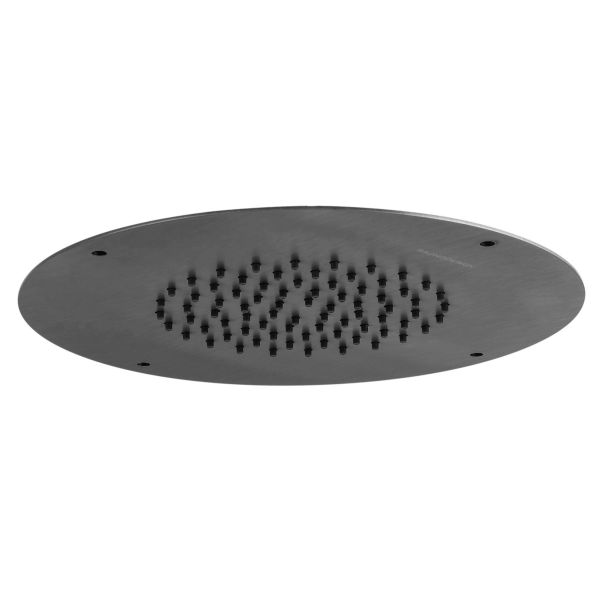
Replacing a leaking shower head is a relatively straightforward DIY project that can be accomplished with basic tools and minimal plumbing knowledge. It fixes a dripping shower head eliminate unnecessary water wastage, and it also contributes to a quieter, more comfortable washing experience. Follow these steps to learn how to replace a leaking shower head Dubai effectively.
Tools required:
- Adjustable wrench or pliers
- Teflon tape (also known as PTFE thread seal tape)
- Old toothbrush or cloth
- White vinegar (optional)
- New shower head
Gather necessary tools and supplies:
Ensure you have gathered all necessary tools and supplies before beginning the replacement process. Having everything readily available saves time and reduces frustration associated with interrupting progress mid-project.
Turn off water supply:
Locate the nearest shutoff valve controlling water flow to your shower and turn it off completely. Doing so prevents unexpected bursts of water during disassembly, protecting both you and surrounding areas from damage.
Remove old shower head:
Using an adjustable wrench or pliers, gently grasp the connecting nut located between the shower arm and the faulty shower head. Rotate the tool counterclockwise while applying steady pressure until the component comes loose. If substantial resistance is encountered, apply penetrating oil to loosen stubborn connections. Once removed, inspect the threads on the shower arm for debris or corrosion, clearing any obstacles using an old toothbrush or cloth.
Optional step – soak threads in vinegar solution:
To remove mineral deposits contributing to persistent leaks, fill a bucket with equal parts white vinegar and warm water. Submerge the exposed end of the shower arm in the solution and let sit for several hours or overnight. Afterward, scrub off remaining residue with a stiff-bristled brush before proceeding.
Also, wrap a few layers of Teflon tape around the cleaned threads of the shower arm in a clockwise direction, covering approximately half an inch of the length. This action helps form a watertight seal, preventing future leaks from occurring. Stretching the tape slightly while wrapping ensures proper adherence and minimizes slippage.
After completing the installation, perform another leak test while observing closely for signs of water escaping. Address any lingering leaks immediately according to previous instructions. Upon confirmation of a dry seal, tidy up the workspace, returning tools to their respective locations and disposing of any debris generated during the process.
